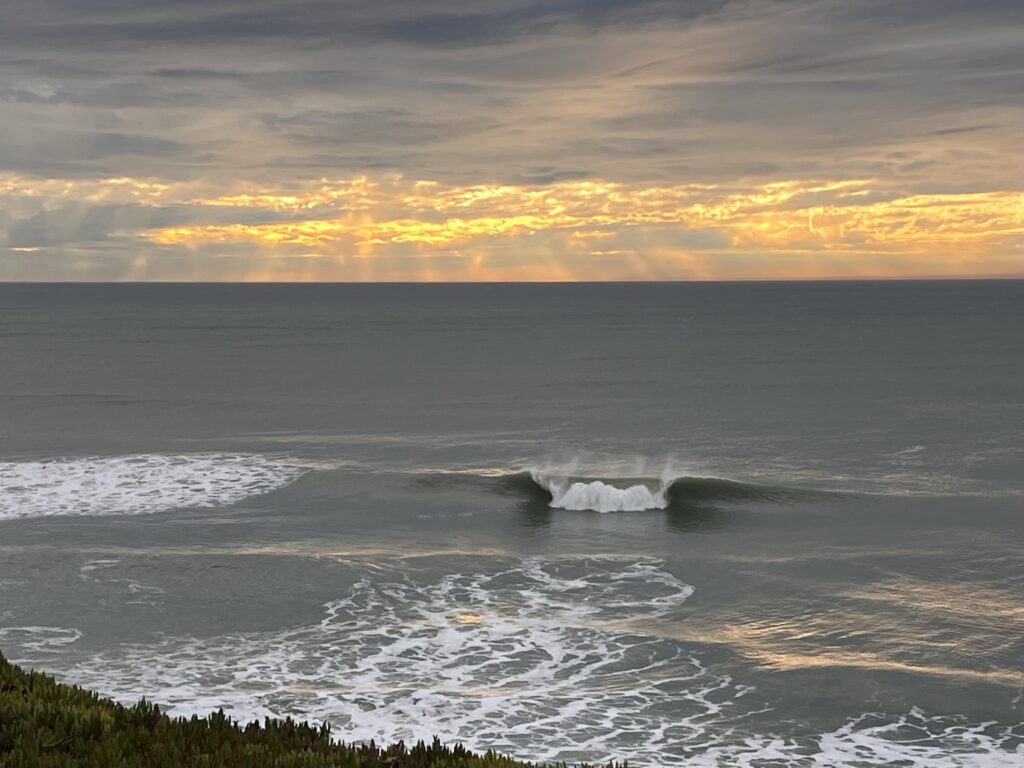
A brief moment waiting for my little one’s swim lesson to start.
A brief moment waiting for my little one’s swim lesson to start.
The book covers the changes taking place in the American university systems, and examines it with an eye based on moral philosophy, and anthropology. It outlines the issues and why we should all be concerned about the events taking place. It finishes with a list of suggestions one can take as a citizen and as parent to help protect your kids from whats going on.
Overall I found the book interesting, but I read through it quicker than I would have liked to since I got behind on my library books. Its filled with examples, which offer evidence and a scare for the reader. I’d recommend reading the book, but I would either get a hard copy, or buy it digitally.
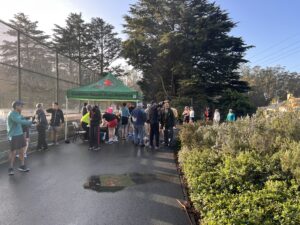
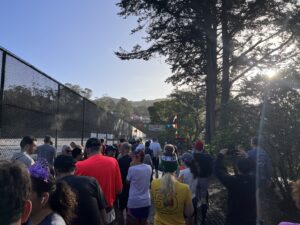
A regular Sunday run put on by the Dolphin Southend Runners at a 5k distance through Golden Gate Park. The weather was bad the previous evening, and looked like it might be a bit wet for the run. I had my rain gear, and was prepared for it to get wet and cold.
[showfitfile file="10315357236_ACTIVITY.fit" interactive = "yes" units="imperial"]
This was a simple loop around the polo fields in GGP. Its fairly flat compared to the last run, and could be done on a mix of dirt, and pavement. It reminded me I should get out in the park more.
Same as the last DSE event. There was a tent with folks ready to sign people in, water, and post race snacks. The start/finish line was a little bit up the road.
I started off way to fast, pulled along by those around me. My initial pace was something like a 9:15 mile, which is just too fast fore me to sustain it. The first mile was slightly sloped downhill, and when we turned to cross to JFK drive, the uphill started. I was holding pretty well until this point, and really began to slow as we crossed into Speedway Meadows. I was able to get my heart, and pace under control and once we finished with the “hilly” section I turned up the speed to finish within my goal of 35 minutes.
When I was in college I took a class that was part Philosophy and part Physics, all about the impact of nuclear technology. One of the professors had been to Chernobyl in the 90’s, and covered the ‘accident’, and how the positive void coefficient created the disaster during a test of the reactor. He didn’t get into very many details, and that makes sense given this wasn’t the sole topic of the course. I started reading the book feeling like I new some of the inside story.
It turns out, I was very wrong. The books outlined not only the flaws in the design that led to the accident(my professor’s explanation was wrong), but how along the way there were many steps that could have prevented the issue (like telling the men operating the reactor about flaws in the design). It also gives a outsiders view into soviet politics, and industry which is helpful to understand how flaws, lack of oversight, and soviet central planning made this disaster so much worse. I learned about the Ministry of Medium Machine Building, and how it attempt to hide its failures, because the development of nuclear power was seen as a propaganda win. The construction of the plant faced all the problems of the soviet economy, and the director simply learned he had to keep building without regard to the safety issues.
The most striking portion of the book was listening to the descriptions of men sick from radiation poisoning, who would die within weeks or month of the accident. Many heroically went to address the unfolding emergency, and we exposed to lethal doses of radiation within minutes. Some protected colleagues and prevented them from worse doses, and some were plain ignorant to what was about to happen. The impact it had, and likely is having on people today is nothing but tragic.
Briefly the author discusses the impact to the soviet republic, and ponders if it really was the the catalyst for its eventual end. I have to believe there is some truth in this, especially since so much time was spent trying to hide the disaster. When the truth was revealed, even is controlled internally, it likely shook perception that the Moscow had Ukraine’s best interest in mind(clearly it still doesn’t).
It was worth the time invested, and I did enjoy the book. As for the audiobook format, I’m not sold. I expanded my listening to running, and walking the dog. Both helped me cross a few more hours off, but I never found the same enjoyment I get from turning pages.
This was a quick Sunday morning run, that was a total of 4 miles. The event was put on by the Dolphin South End Runners (DSE), and is a hilly but scenic course through one of my favorite parts of San Francisco. Its a great club, and the run events almost every Sunday. We got lucky with regard to the weather, and while the pavement was wet, there was no rain. The cost of the race was a screaming deal at $10 for non-members, and $5 for a standard member.
Time: 08-Jan-23 9:00 am |
Duration: 00:46:21
| Distance: 3.99 miles |
The course starts out at the Sutro Reservoir next to the Mid-Town Terrace Playground. You do a loop around the reservoir, and head west on Clarendon until your reach Laguna Honda Blvd then head south and wrap around the hospital. When you reach Portola where you head east to Twin Peaks Blvd, and follow it up and over. Along the way you’ll be treated to sweeping views of downtown San Francisco, and to the west you can see the Pacific Ocean. On your descent down Twin Peaks blvd, you should also be able to see the bay, Marin Headlands and the Golden Gate Bridge. From Twin Peaks blvd, you turn left on Clarendon for one last hill, and then you’re back the reservoir and the finish line.
The sign-in was well run, and efficient. Everyone volunteering for the club was super friendly, and helpful. Post race water and snacks were available, and there were even some home baked cookies, that were delicious. The start line had a large timer, and pull tabs were used for tracking finishing times.
I lined up in the back half of the field, because I knew I wasn’t prepared to run this very fast. I set a personal goal of finishing within an hour(especially since I haven’t been running frequently), and decided to pace myself given the hills.
When we started, I ran faster than intended, but felt pretty good. When we turned downhill, I decided to push here. I was able to pass quite a few people, and settled in behind a teenager, and a guy in a blue shirt. I felt if I could keep up with those two I would be in good shape.
When the course began its uphill section at Laguna Honda toward Portola. I locked in and kept running. It quickly became apparent I was loosing the blue runner, but since I liked both my pace and my heart rate I stayed the course. It was pretty uneventful up to the top of Twin Peaks. I passed the teenager, and another runner. I was exchanging places with another runner, who left me in her dust at the flat section of road up top. I think I didn’t pickup my pace enough. A runner, who seemingly came out of nowhere, tried to pass me, and did briefly. He was a few steps ahead when we started our first descent, and I left him behind.
The final segment on Clarendon broke me with the final uphill climb. I walked for a bit, since I felt I was pushing my heart rate too high. This probably cost me a couple minutes. The downhill segment was uneventful, and I turned to the finish line and pushed to get the best time I could.
In the end I finished 2nd for my age group (there were 3), with an overall time for 46:08. It was a great run, and I felt great. I would recommend you take a look at any of the DSE runs if you’re in San Francisco for a weekend.
The second issue I had with the recipe is the lack of description on stew meat. The pieces I got were a bit too large, around a 2 inch cube. Additionally, this generally isn’t from a great cut of meat, so it was pretty tough. I would look to something that was more like 1 inch cubes, to help address that and make the bites more manageable. I also though about extending the cook time from 15 minutes to 30 minutes or longer. It should get you a more tender texture, but at the cost of extra time.
Since the cook time is so short, its potentially worth considering a different cut. America’s Test Kitchen has several Stroganoff recipes but they basically all follow the same pattern. This one, recommends steak tips which is a bit hard to fine on the west coast. This one, for a slow cooker, recommends using a chuck eye roast, which is think is a better option if you’re looking at extending the cook time. They have another one where they use a tenderloin, and that doesn’t make any sense for this recipe.
I think it needs more sour cream. Probably 3/4 of a cup or up to 1 cup if desired.
Lastly I’m going to adjust the ingredients to be in order, and modify the instructions to my recommendations.
▢ 3 tablespoons butter
▢ 1 cup sliced mushrooms
▢ 3 teaspoons minced garlic
▢ 2 tablespoons flour
▢ 2 pounds stew meat
▢ 3 cups beef broth
▢ 4 tablespoons worcestershire sauce
▢ 10 ounces egg noodles
▢ ½ cup sour cream
▢ salt and pepper to taste
Optional:
▢ 2 tablespoons corn starch + ¼ cup beef broth – or cold water, optional
▢ 3 tablespoons butter
▢ 1 cup sliced mushrooms
▢ 3 teaspoons minced garlic
▢ 2 tablespoons flour
▢ 2 pounds stew meat in 1 inch cubes
▢ 3 cups beef broth
▢ 2 tablespoons worcestershire sauce
▢ 12 ounces egg noodles (that is what I could buy at safeway)
▢ 3/4 cup sour cream
▢ salt and pepper to taste
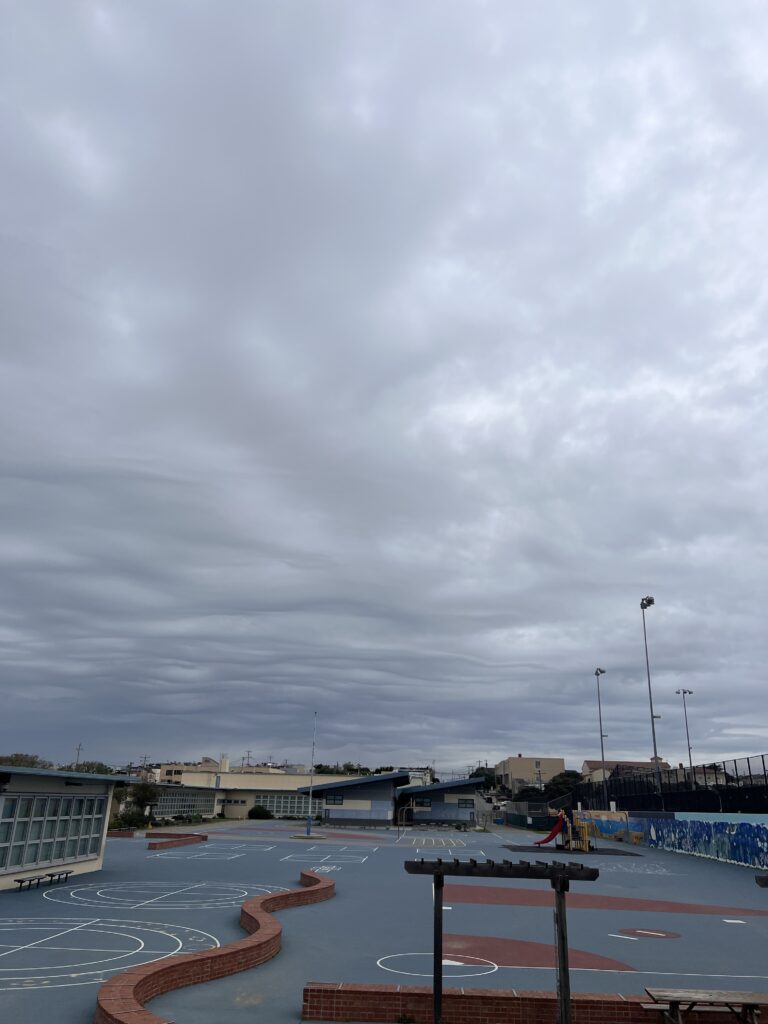
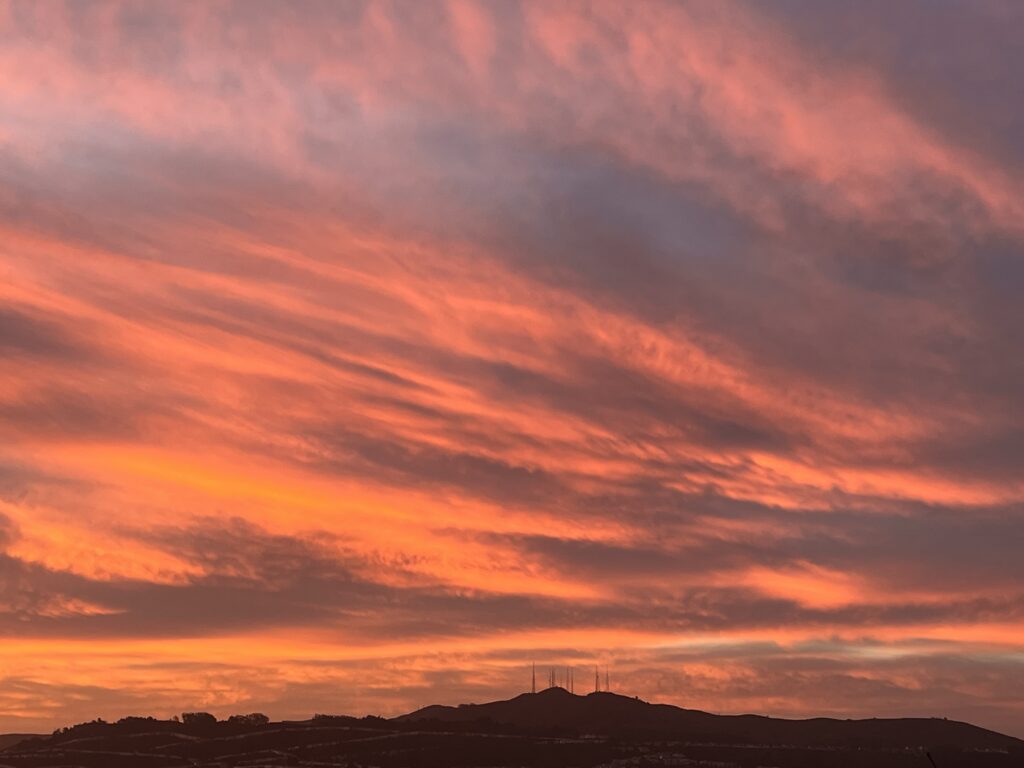
These caught my eyes on the way to my eldest’s soccer game. Really interesting undulations.
This was a very enjoyable book, and I can’t help but recommend others read this. Each night I would find my self through about 50-100 pages, and unable to sleep after each chapter because I wanted to find out what happened. Bad for my sleep, but a great read.
The book sets up a scenario in which the new world invades the old world. This happens through seeding the new world with germs, and steel from the vikings, and providing them long enough to recover. This portion of the book is the first distinct section written in a style similar to that of the viking sagas. The second section follows the tragic journey of Christopher Columbus, which provides a bridge for the the third section which is the conquest of Europe by the Incas. The final section tells the story of Miguel Cervantes, and his experiences.
The “historical” events of the third section of this book echo stories of the conquest of the Inca’s by Pizzaro. The capture of King Charles stands out in my head since it is described so closely to the accounts of what happened in Peru, with a very limited number of men accomplishing something unthinkable. Some of the language is directly lifted from the accounts in Peru. Even better, most of these actions were inspired by the Inca’s reading of Machiavelli. Overall it was great to see the Inca treated as both a powerful and intellectual group; portrayed as equals or betters to the Europeans.
There is also a great discussion of the management of religion and how much it would have differed without the Christian bend. I was particularly fond of the confusion surrounding the issues between Lutherans and Catholics, and how hard it was for an outsider to understand why there was such a big deal being made about it. I do wonder if you are unfamiliar with these events, if you would also find them as enjoyable.
Overall its a fun read and worth the time investment. It took me around 6 days, but I also had lots of down time that enabled me to get through it faster than I typically do.
I found it on Libby and check it out through the San Francisco Public Library as an ebook.
Like everything else in the world it can be bought on Amazon as well.
Got any book recommendations?
